Making a Sale
You may use ARTsala to create professional invoices and receipts for your customers.
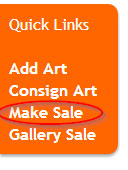
- To create a sale, first click on the quick link on the left hand side of your screen (you must be logged in to see the quick links), or click on the Sales block on your Account Command Center.

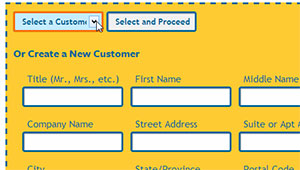
- Now, either select a client (if the client is already in your client list) or enter the client's contact information. Any information added here is also added to your contact list.
-
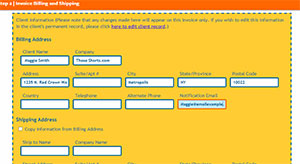
The client information is copied to your invoice billing and shipping screen.
If you wish, you may add any additional information needed here. Please note that changes made here will not affect the client's information in your client list. The contact information on an invoice is separate from the contact information in your client list. This is important, because even if your client moves, or other contact information changes, you want the invoice to reflect the information that was current at the time of the sale.
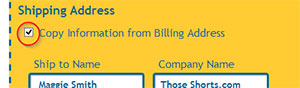
- If the client's shipping address is different than their billing address, you may enter the shipping information on this screen as well. If the billing and shipping information are the same, you can click on the "Copy Information from Billing Address" check box and you will see the information from the billing section copied to the shipping section.
- Click the "Save Billing and Shipping Information and Proceed" button.
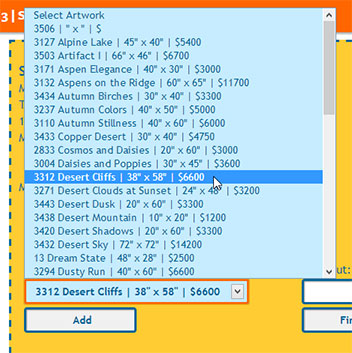
On the "Select Artwork & Record Payments" page, you will select the artwork your client is purchasing. There are two ways to do this. The first is to use the "Select Artwork" drop-down menu, and click on the artwork you wish to sell to the client.
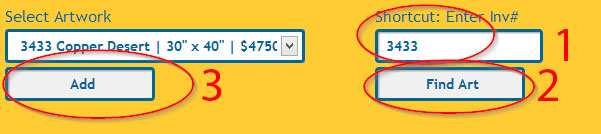
The second way to select art is to enter your inventory number into the "Shortcut" field. If you know your artwork inventory number (this is the number you assigned to the piece when entering the artwork into ARTsala), you can simply enter it here, click "Find Art". ARTsala will find the art for you and select it in the "Select Art" drop-down menu. Click the "Add" button and your art will appear below in the invoice.
Discounts. If you are giving your client a discount, you will enter the discount for each individual piece of artwork. This allows you to control your discounts on a piece by piece basis. Enter the dollar amount of the discount and click on the "Save Discount" button.
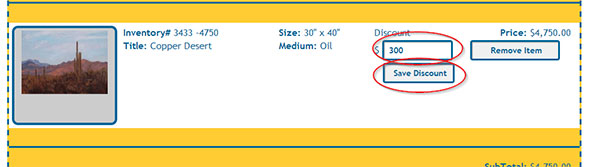
Important! be sure to click the "Save Discount" button immediately after entering the amount and before doing anything else on the invoice page. Failure to click on the "Save Discount" button will result in the discount being lost, and will give you an incorrect total.
After you have selected all of the artwork you are selling to your client, you may charge your client for shipping and sales tax (if applicable). Enter the shipping amount in the "Shipping Charges" field and select your sales tax profile for this sale from the "Sales Tax" drop-down menu. If you haven't set up sales tax profiles yet, visit our sales tax setup guide on the profile setup page.
Important! Once you have entered your shipping and selected your sales tax, be sure and click the "Calculate & Save" button before doing anything else on the invoice page.

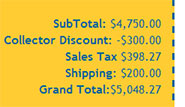
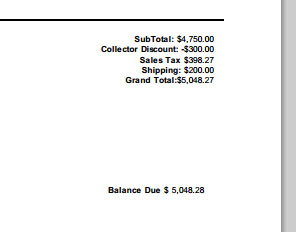
Grand Total. Once you have selected all of your art, entered discounts, shipping and sales tax, you will see that ARTsala has calculated your grand total for the order, including sales tax, shipping and discounts.
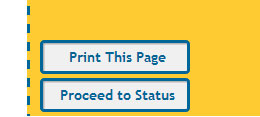
- Printing an Invoice Showing Total Due. Now that you have calculated your invoice you can print it. Scroll to the bottom of the invoice and click on the "Print this Page" button. The invoice will print showing the balance due at the bottom.
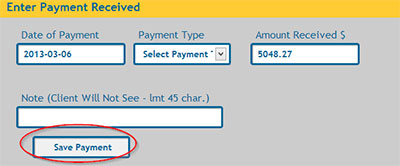
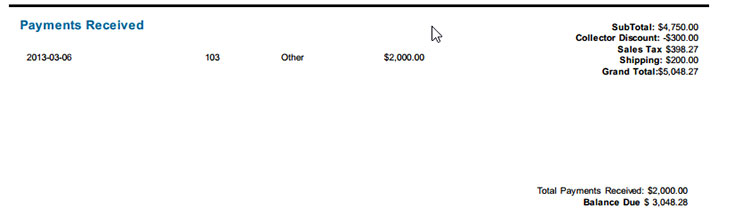
- Enter Your Client's Payment(s). Once you receive a payment from a client, you can use this same screen to enter the payment. In "Enter Payment Received" section of the invoice, select the payment date, payment type, and amount received. Note that the default payment amount is for the grand total of the sale. If your client isn't paying in full, however, you may enter the exact amount of their payment and the invoice will recalculate the balance due to reflect the payments already made. You may enter as many payments as necessary to this page until the balance due reaches zero.
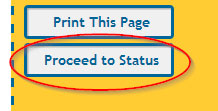
- Now that you are finished with the invoice, click on the "Proceed to Status" button to change the current status of the artwork you have just sold.
On the "Update the Status of Sold Artwork" page you will have the opportunity to change the inventory status of the artwork you have just sold. This update will change the availability of the artwork in your ARTsala records, and will also update the status of the artwork on your website if you have an ARTsala website.
The default selection is "sold", but you may wish to select a different status, depending on the status of the sale. If your client is making payments, for example, you might want to change the status to "Sold, Pending Payment".
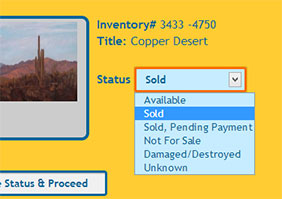
Click the "Save Status & Proceed" button when you are finished.
That's it, you've made your first sale!